

How To Align Your Derailleur Hanger
Nothing will derail your ride more than rear-derailleur problems. Shifting troubles can be extremely frustrating, mostly because the main source of the problem is often overlooked. When new cables and housing don’t fix your shifting woes, it’s time to check and see if your derailleur hanger is properly aligned. In order for your drivetrain to shift buttery smooth, your hanger must be aligned straight and true. But, how do you do that? Well, let’s dive into this month’s “Garage Files.”
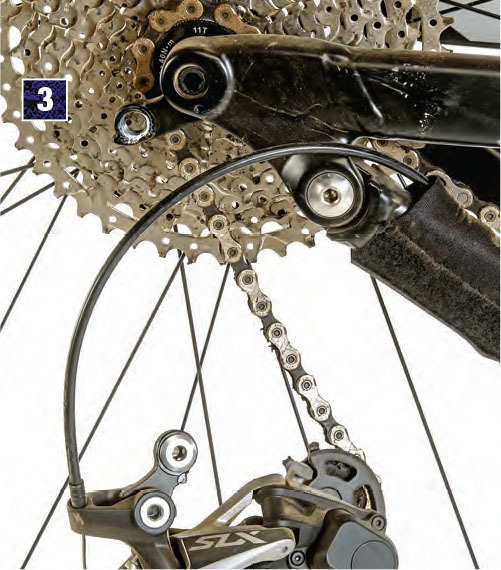
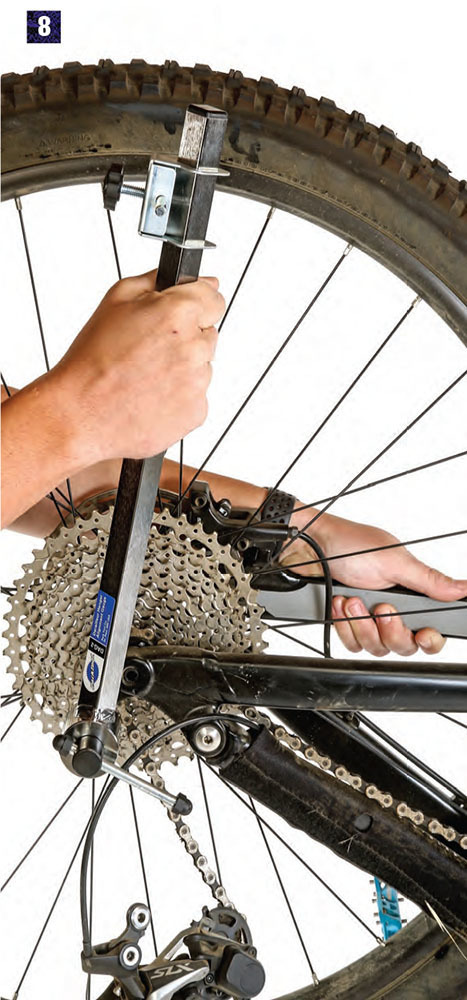
 Before you begin tweaking your derailleur hanger back into position, first make sure that the hanger is actually the source of your shifting problems. Start by checking that your rear derailleur is set up properly, paying close attention to your B-tension screw and ensuring that your cables have proper tension. With modern 1x drivetrains, the upper pulleys on derailleurs don’t have as much axial play, allowing for quicker shifting but requiring more fine-tuning. If those adjustments don’t fix your problem, it’s more than likely you have a bent derailleur hanger.


THERE ARE SO MANY WAYS TO GET
ELECTRIC BIKE ACTION
In print, from the Apple newsstand, or on your Android device, from Google.
Available from the Apple Newsstand for reading on your iPad, iPhone or iPod Touch.
Subscribe Here
For more subscription information contact (800) 767-0345
Got something on your mind? Let us know at hi-torque.com