
Securing Your Headset
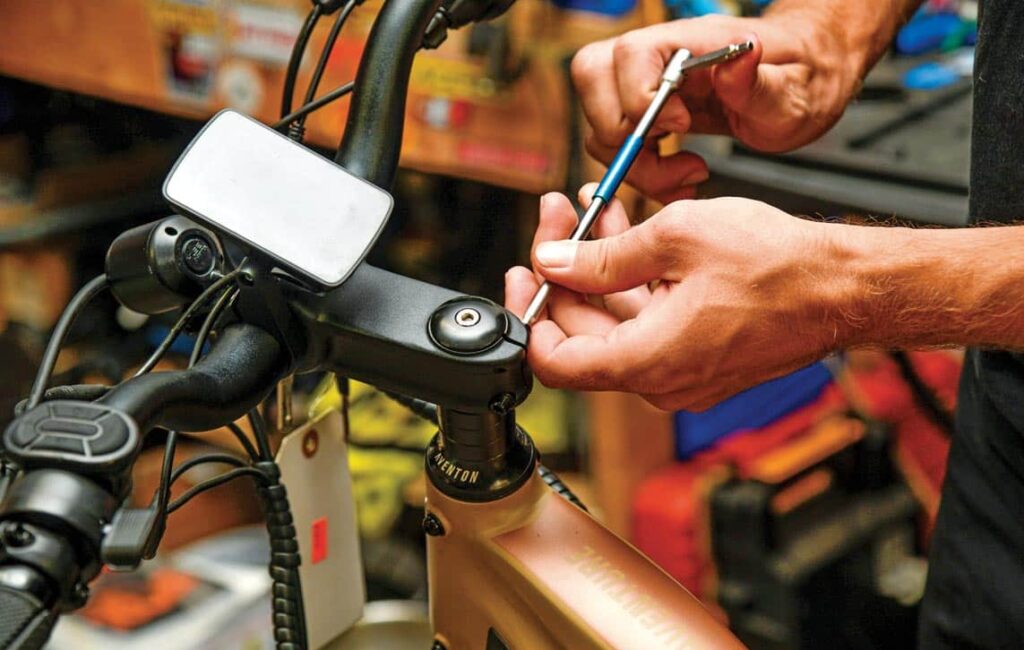
Question: I’ve recently purchased a raised stem for my Rad Power fat-tire bike. I wanted to bring my arms up a little further from the ground for more comfort. The stem feels much better for me than the old one, but now I have a substantial clunking noise in the front end of my bike. I made sure everything was tight, but I can’t get rid of this noise when riding. I’m new to working on my own bike, but need all the tips I can get.
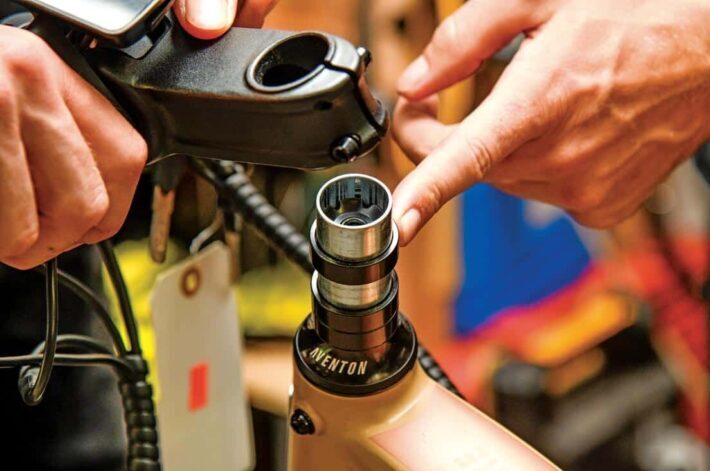
Answer: This can be an issue when changing out the stock stem. Usually, people can’t get their headset secure because there are not enough headset spacers, often because aftermarket stems can’t be guaranteed to be the same size as the one you pulled off. It could be taller, shorter, or using a countersunk cap, making you think it’s tightening properly, but it may not be.
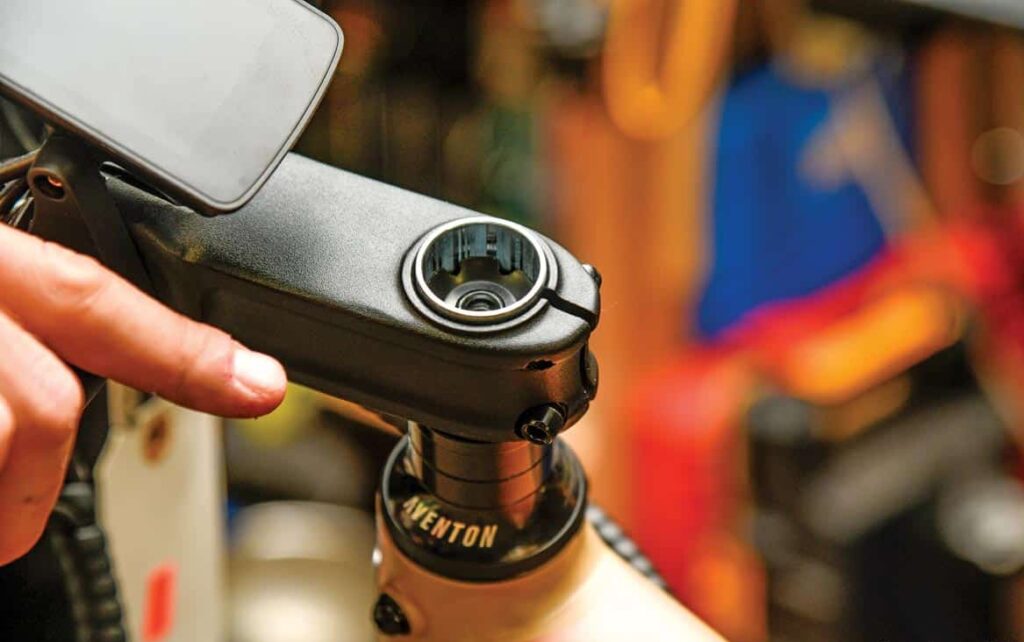
The steerer tube may be easily sunk into the stem, but sometimes it isn’t enough. This means the cap is only tightening up itself to the fork steerer tube and not the entire headset as needed.
Essentially, you want the fork to be securely snug to the head tube part of the frame. Stem spacers come in different sizes, and having the correct number of spacers plays an essential role in achieving this. You may need to add another small headset spacer. Not too much, though, just enough to get the handlebar stem cap above the fork steerer tube about a few millimeters. Many companies say 3mm is a safe amount for the stem to have a good grip on the steerer tube.
raised stem for my Rad Power fat-tire bike. I wanted to bring my arms up a little further from the ground for more comfort. The stem feels much better for me than the old one, but now I have a substantial clunking noise in the front end of my bike. I made sure everything was tight, but I can’t get rid of this noise when riding. I’m new to working on my own bike, but need all the tips I can get.
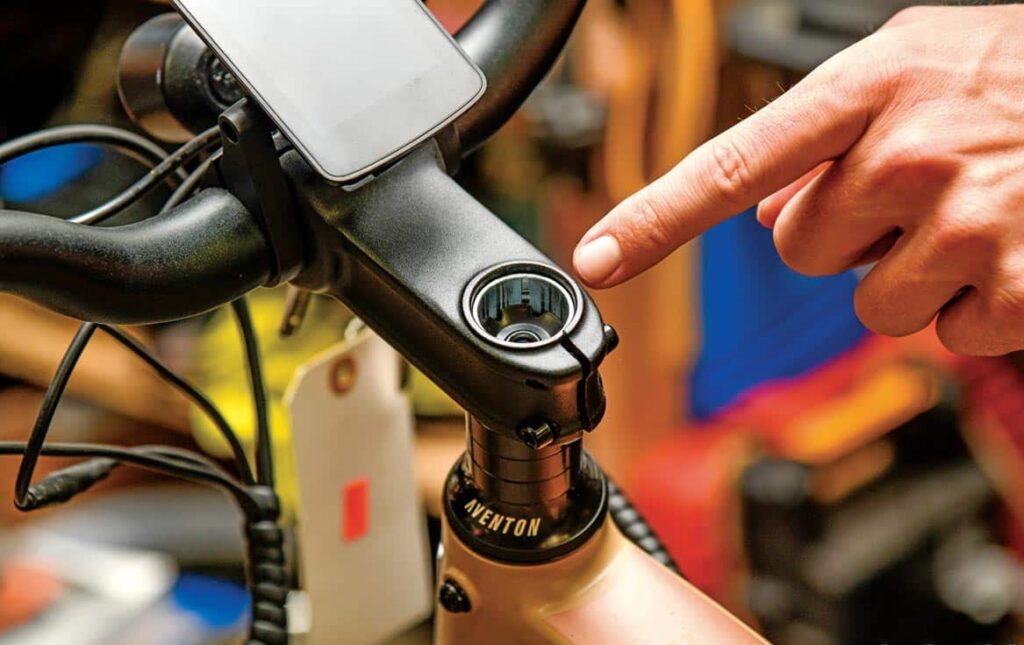
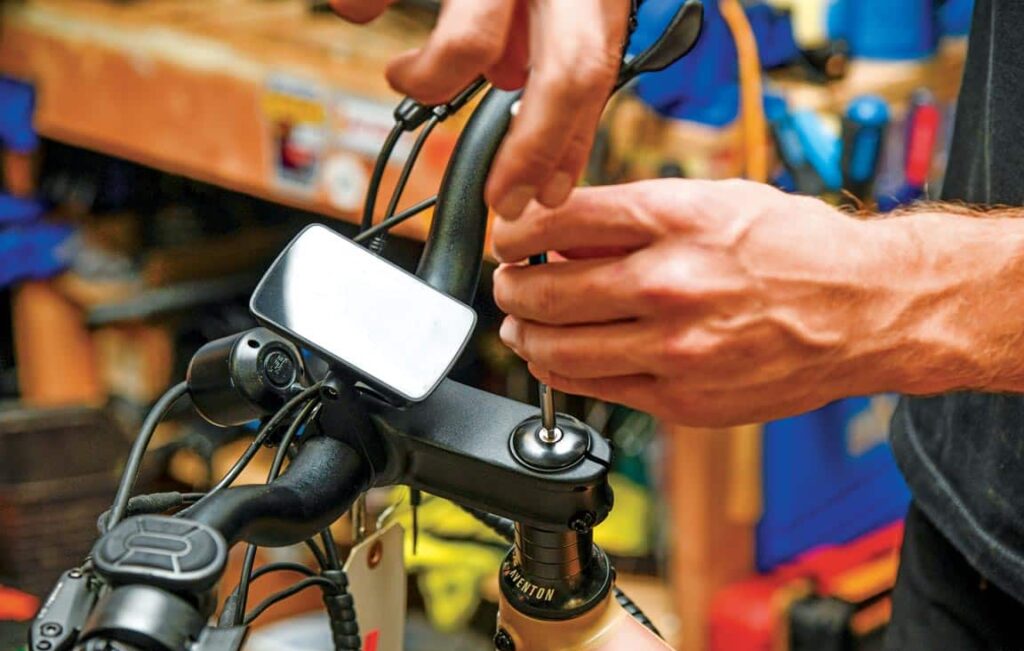
Now, having the fork steerer tube sunk below the stem you can begin the tightening process. First, you’ll tighten the top cap; as a general rule, somewhere between 1-2 N/m is enough. That is if you have a torque wrench. If you don’t, it means it’s just barely tight enough to be snug. If it is too tight, you’ll put more pressure on the bearings and wear them out much faster. Your goal is to pull the fork snug to the head tube by tightening the top cap. Again, it doesn’t take much tension to get it secure.
Once the top cap is tight, you can sit on the bike and align your handlebars with the front wheel. When they’re where you want them, you can tighten the bolts on the side of the handlebar stem. Typically, the side pinch bolts need 4-6 N/m of torque to be securely tight and maintain alignment of the handlebars and front wheel.
Flat-Tire Blues
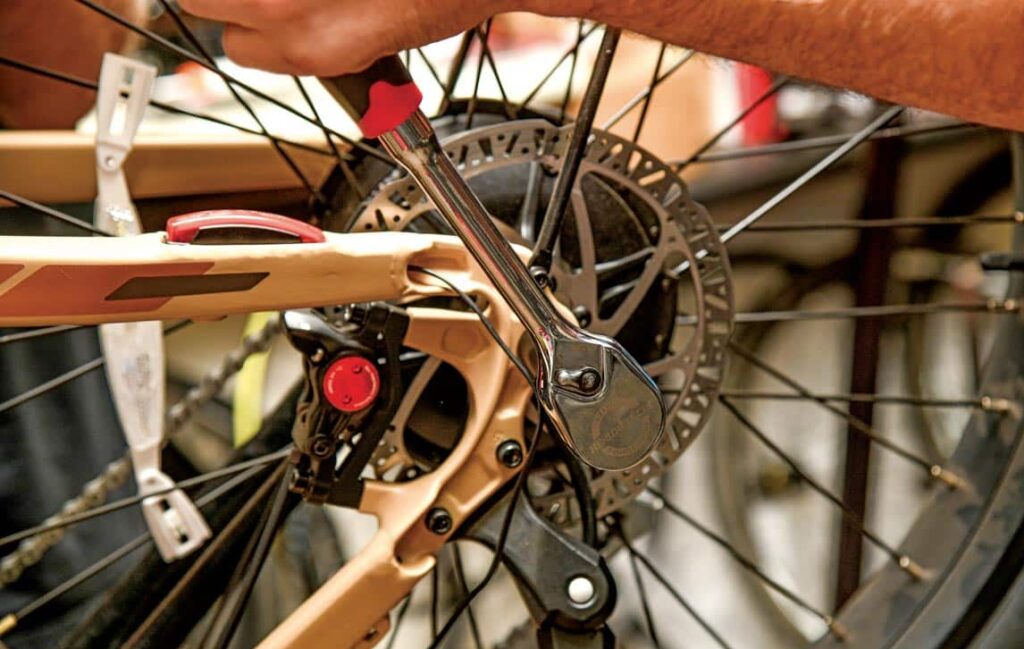
Question: I just bought two new e-bikes for my employees to use for going out to lunch and running errands. I got those bikes that have the motor in the rear wheel with tires that are over 4 inches wide. “Fat-tire bikes,” as many refer to them, and as much as they fit my needs, we recently got flat tires on both bikes. Looks like thorns were the culprit. I found out how hard it is to take the rear wheel off and put back on.
Actually, what really happened was that I gave up! I brought the bike back to the shop I bought it from, in pieces, and kindly asked if they could “take care of it for me.” It was way too much for me to do by myself. Are there any tire liners you recommend to prevent me from getting flats? Or, maybe a way to change the tire by myself a little easier?
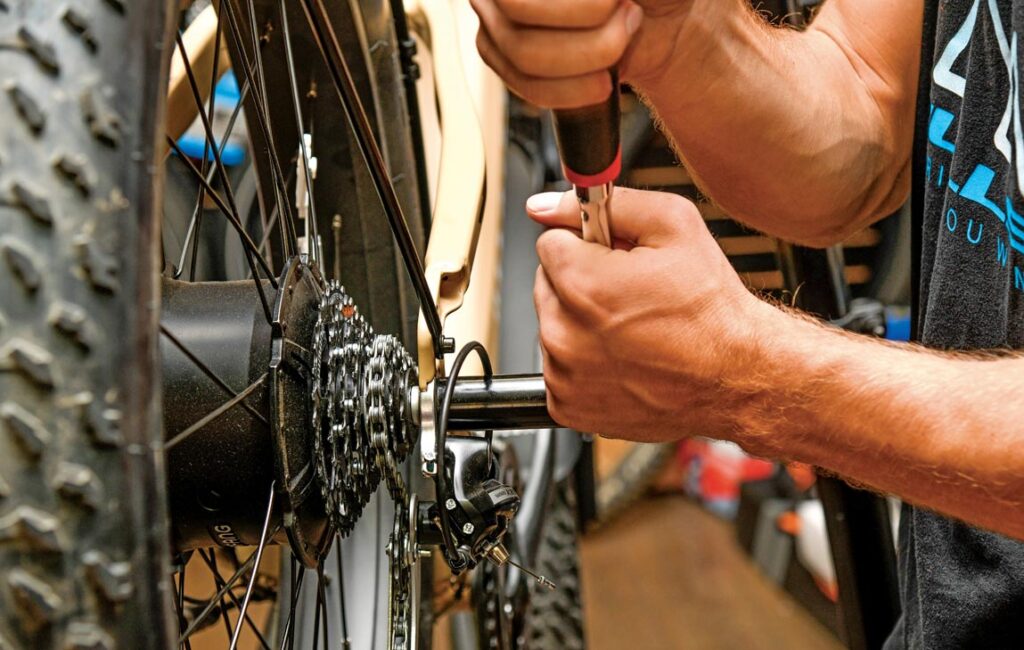
Answer: On average, Full-size fat-tire bikes weigh around 75 pounds, and changing a tire by yourself without a stand is challenging, particularly the rear tire. Even if you have a stand, two people can get it into the stand. A decent stand holding one of these bikes can cost around $300.
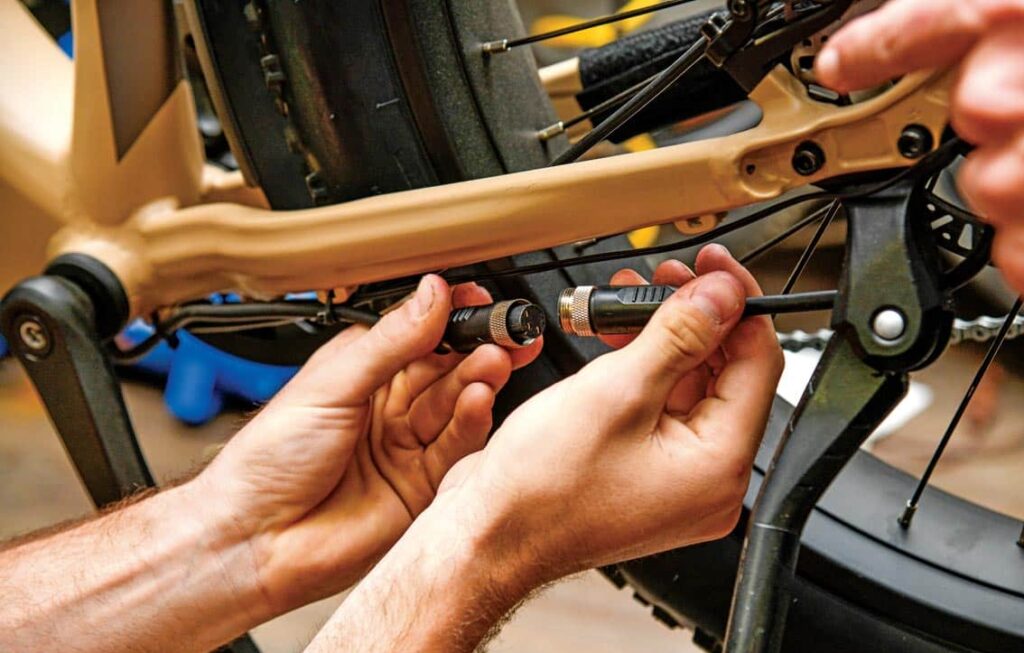
If you change the tire without a stand, it would be best to have a friend to help lift the back end while you pull the wheel out. Always first cut the zip ties that secure the power cable to the frame. Some of that cable will be connected to the rear wheel and must be disconnected/pulled apart before you can remove the rear wheel. We’ve attached pictures illustrating what we mean if you don’t know where it disconnects.
As far as liners go, we’ve had good luck with Tannus liners, which are about 15mm thick in the center to about 5mm thick on the sidewall. They massively limit thorns from puncturing your tube, and by the time you have a shop install them, it will be cheaper than buying a quality stand for holding your bike. Plus, you’ll minimize the chance of even getting a flat tire. Even many shop mechanics give each other a hand to make it go faster because it’s heavy and takes some coordination to even do it.
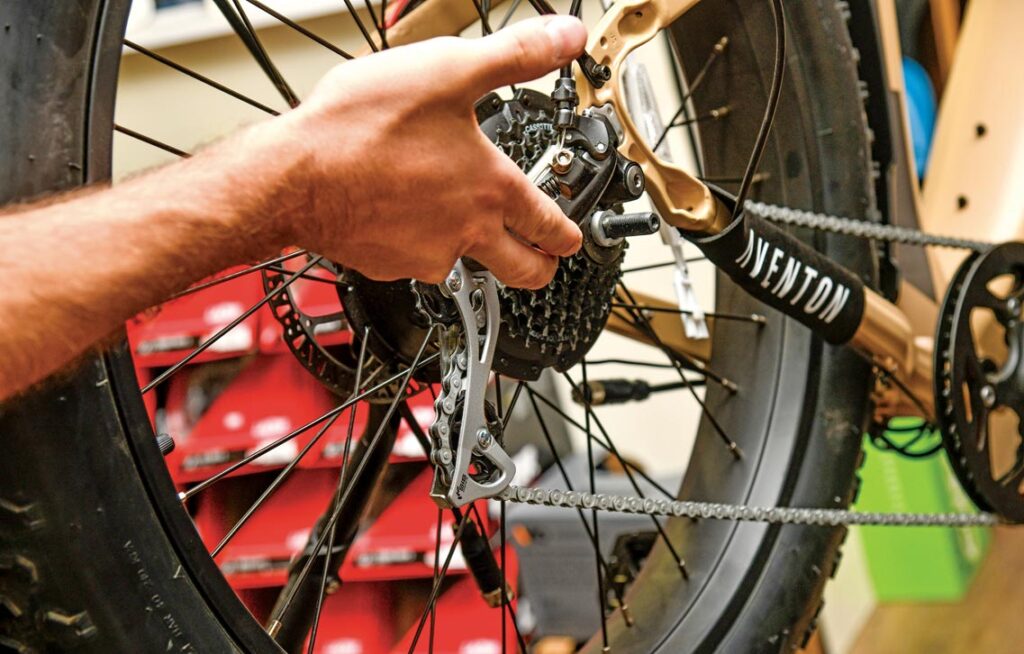
Some of you might be aware of tubeless setups that some fat-tire rims are capable of, but most entry-level fat-tire e-bike rims and tires are not tubeless compatible. If your wheels are not tubeless compatible, you must buy separate tires and rims or different wheels to make it work. It would be worth converting if you have a mid-drive fat-tire bike with tubeless-ready wheels. Just ensure you keep the tire topped off with the recommended amount of sealant as time passes, or you could be left stranded with the flat-tire blues after the sealant dries out. Cushcore and Vittoria make tubeless inserts that help keep you rolling if you suffer a flat.
Discover more pointers for getting the best out of your electric bike by reading about problems with cheap e-bikes and exploring why e-bikes are so expensive.
